|
Copyright © T. GhostWolf Davidson. All rights reserved. |
Piracy / Copyright Notice |
Break out of someone else's frames here |
Bath Room Book Shelf
After building a side-yard gate out of rough fencing redwood, I had a few boards left over. Rather than purchase new, smooth-finished redwood for the bathroom shelf, I chose to plane and sand the left-over fencing boards and use those instead.
| Click on the thumbnails to view details | |
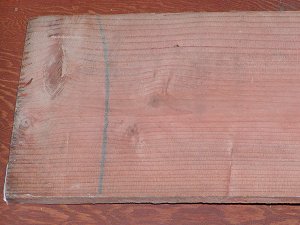 |
This is a close-up of the end of the board before planing. sanding, and cutting to size. |
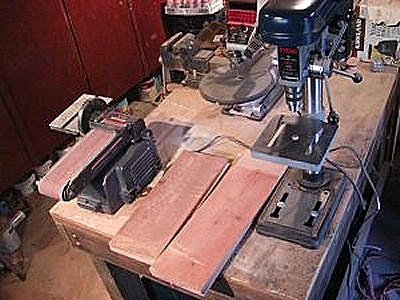 |
The redwood boards after planing, sanding, and cutting. |
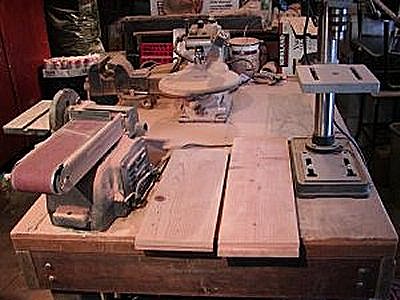 |
A different view of the same boards (and my rather saw-dusty work bench!) |
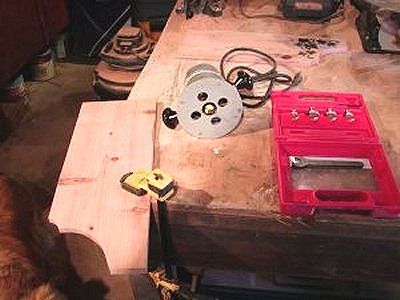 |
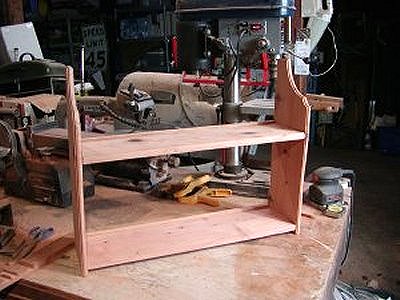
After cutting the contours in the side panels, and before routing the edges (those bench clamps are wonderful!) |
|
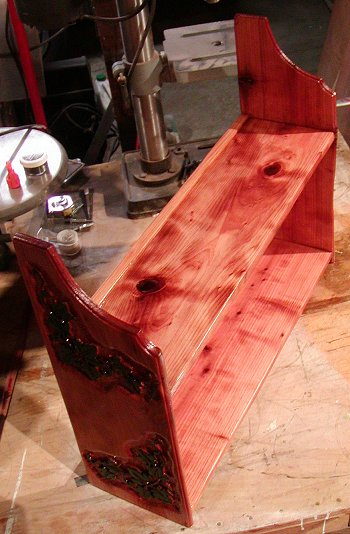
Sanded, routed, and assembled: No nails; just tongue-and-groove and mortise-and-tenon joints, glued and clamped. The machine in the background is my Dad's 1963-vintage 240-volt Dewalt 10-inch radial arm saw: An absolutely indespensible and versatile tool. |
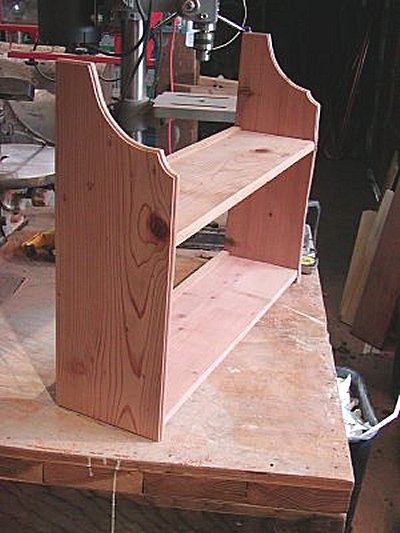 |
A close-up shot of the edge routing, also showing the redwood grain.Next step: Stencil in the grape leaf designs on the side panels, and start carving! |
 |
Applying the first part of the stencil. |
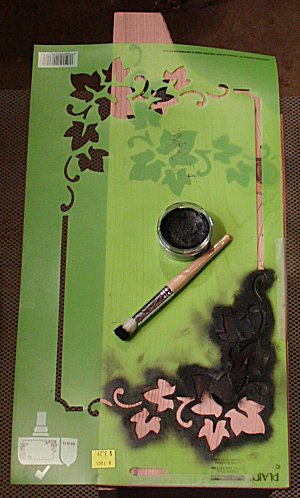 |
...and the second part |
 |
Carving out the design, 1/4 of the way done (got the other side to do!) |
 |
Of course, my craftmanship has to pass inspection by Simba... |
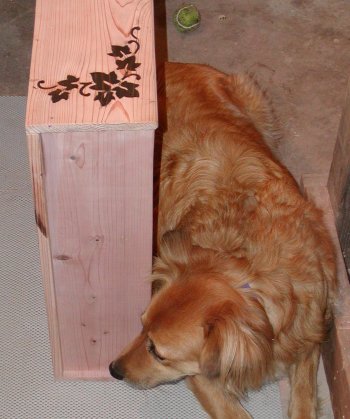 |
I think I passed 8*) |
 |
Carving completed... next step; using leather-stains to color in the leaves and stems. Yes, fellow wood-workers; that knot was very hard to work! Talk about having to resharpen tools... (Oy!) |
 |
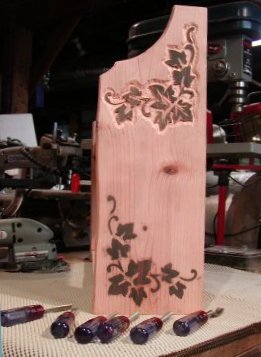
One beautiful aspect of leather-stain colors is that they are transparent, and thus do not hide the wood grain.S |
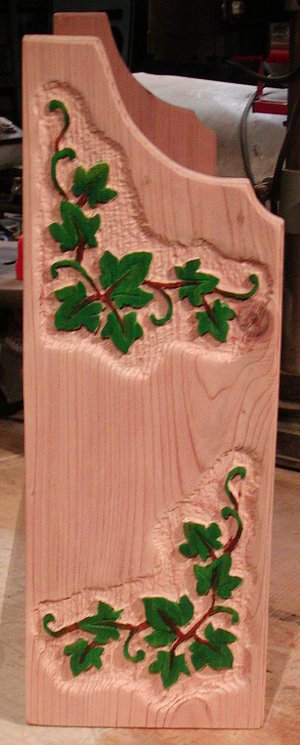 |
Stain application completed; next step - apply Teak Oil finish. |
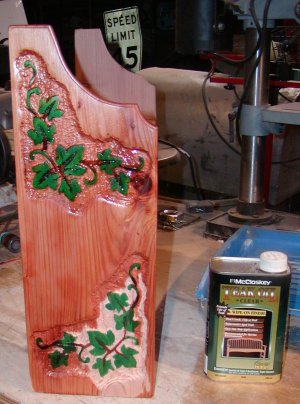 |
Teak oil brngs out the color of redwood! Look at contrast between the treated and untreated sections! |
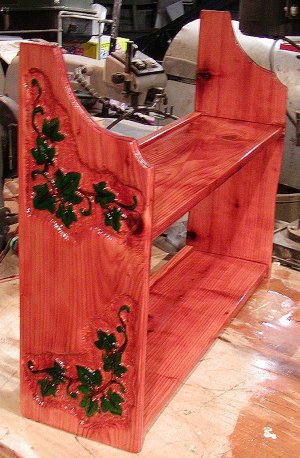 |
... Teak oil finish, completed. |
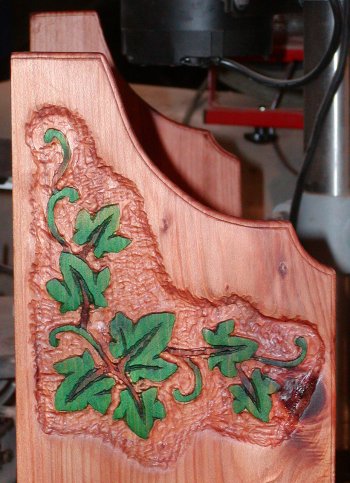 |
Close-up of one of the carvings after the teak oil application... |
 |
A different view that shows the redwood grain very well. |
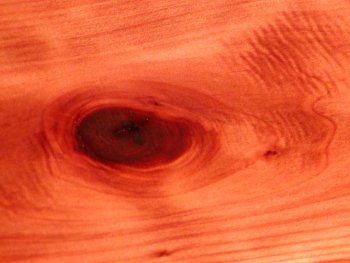 |
Last, but not least: a close-up of part of the redwood grain; a knot next to ripple-grain |